This article is a crash course into the basics of building and maintaining a quality lawn bowls green!
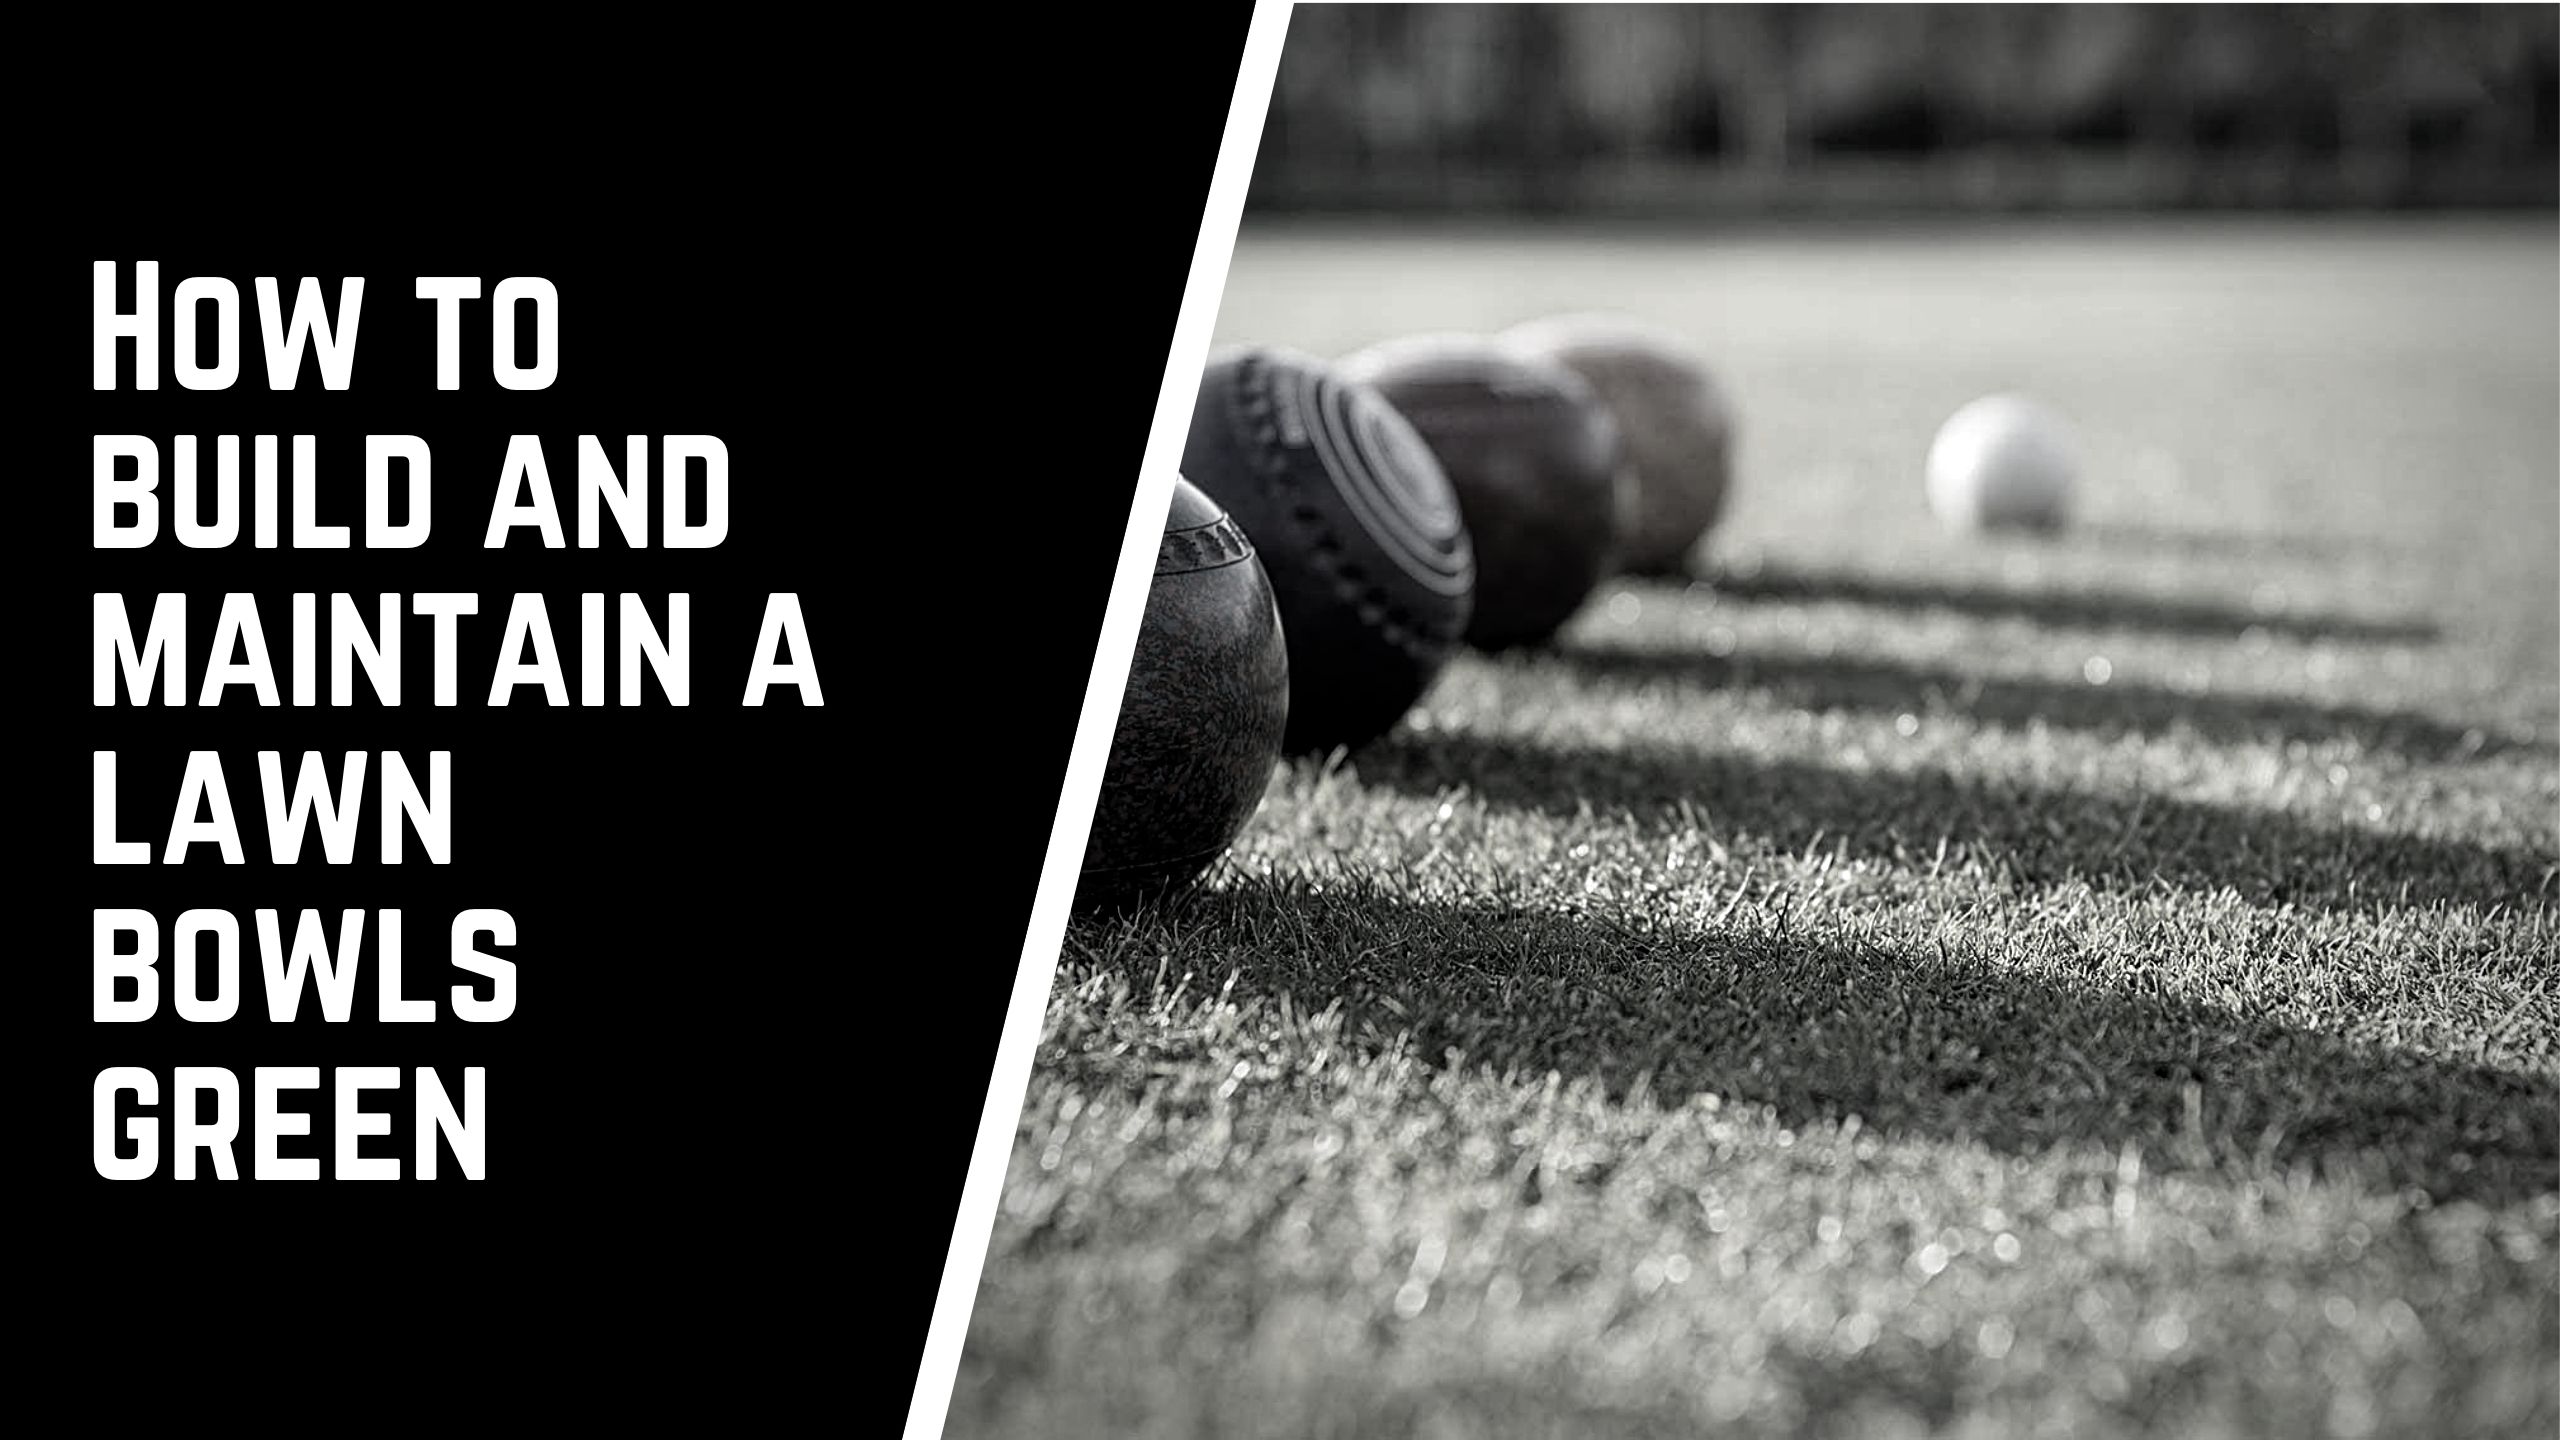
In the UK, half a million people participate in lawn bowling at both amateur and professional levels. An essential part of playing bowls is the bowling green. Great skill and finesse are necessary during construction to provide a good bowling experience. For instance, the bowling green requires a sandy root zone to provide a firm surface suitable for the game. Below, you will find information on the steps of constructing a bowling green, the cost associated with greens and the maintenance tips.
Parts of a Lawn Bowling Green
Players can play bowls in any direction because the greens are square-shaped with dimensions ranging from 31 metres to 40 metres. Usually, the playing surface is either synthetic or natural grass varieties. The main parts of a bowling green include:
Ditch: The ditch is the small strip surrounding the bowling green with a width of 200 to 380 millimetres and a depth between 50 and 200 millimetres. Its holding surface must be free from obstacles or items that could ruin the bowls or damage the jacks.
Bank: It is built against the outer edge of the ditch with 230 millimetres above the surface. The vertical structure must be at a right angle to the surface of the green or sloped to a 35 degrees angle. However, the face of the bank should not have any material that ruins the jacks or bowls.
Rinks: The bowling green has six sections called rinks with a width between 4.3 and 5.8 metres. The rinks are where bowling takes place, and with the six divisions, players can play six places concurrently. An ideal rink dimension is 5 metres wide since it is the recommended dimension for major competitions. Separating the rinks requires a peg or disc with the rink number and clear markings at the centre.
Boundary Pegs: The boundary pegs help mark the four corners of the rinks and are usually in white or brightly coloured pegs. From the outer rink, the boundary pegs are situated at 600mm of the side ditch. Pegs can also act as distance markers visible on the side banks.
Centre Line: While the centre line is optional, it assists players in placing the mat. The centre line markings start two metres from each end of the rink, but it should be at least 23 metres from the opposite ditch.
Steps for Constructing a Lawn Bowling Green
Building a lawn bowling green is a simple DIY job, but it requires manual labour. You may also need a professional to install drainage and ensure the ground can sustain high-quality turf. Luckily, it does not require planning permission, and you can build a bowling green on your garden. Here is a step-by-step process for constructing your lawn bowling green.
Choose the Construction Site
A bowling green requires an undisturbed land with native soil to achieve differential settling to reduce the preparation time. A disturbed land will need extra preparation time to ensure the bowling green will be level. It is best to avoid any land formerly a landfill since it can be unstable and almost impossible to keep it level. When choosing the lawn bowling green location, you should keep in mind the access to a sewer, power and water to reduce the maintenance costs.
Excavate and Level the Subsoil
Once you find a suitable location for the bowling green, it is time to make a shallow excavation. Begin with 30cm deep and level the sub-base with plus or minus two centimetres. After filling the low places with sand, compact the entire area with a vibratory roller. Start on the trenching to accommodate a four-inch drain tile from the centre. You can place drain tile together with headers and outfall at 1.5 metres from the centres.
Install Drainage
When you finish trenching, lay a polythene barrier over the area with the trenches. When the barrier follows the contour of the trenches, your drainage system will hold water at all times. Besides, the barrier is crucial when you filled some areas of the sub-base with sand. Usually, the drainage system is levelled to 8 millimetres. After completing the drainage system, customise the plinth systems and attach the metal spreader brackets. You can install the irrigation system behind the backboard/plinth system.
Lay Down the Concrete Channels
After completing the preparation, you can begin adding sand for the final levelling of the bowling green. Start with a 15-centimetre layer of wet sand and compact it with a vibratory roller. After the second layer of sand, the level will become over the top of the plinth. Next is to level the sand using a custom screeder and rails. After a few passes, you will create a compact surface within the three-millimetre specification. You can level the bowling green in sections until the entire green is level. However, the surface should be wet throughout the levelling process to prevent changes caused by wind erosion.
Prepare the Final Surface
Seeding and development is the final stage of constructing your bowling. After the final levelling, you can fertilise the area after lightly scarifying the surface. Seed the area with grass of your choice, preferably Bentgrass and Picross. Keep it wet until germination starts, and the turf develops. However, you need to roll the surface to put the crowns into the root zone. When the grass grows to two centimetres, which takes about five weeks, you can mow the bowling green. You should mow the bowling green regularly to decrease cutting height to ensure the turf spreads and is tightly knit together. Do not forget to dethatch before the first bowling game and lay the slabs to mark the play area.
How Much Does it Cost to Construct a Bowling Green?
The cost of building a lawn bowling green depends on the size of the green. For instance, constructing a smaller bowling green will cost less than building a full-size bowling green in your outdoor space. If you are not going to do the excavation and the labour-intense activities to level the subsoil, you may need to hire a contractor. You also need an expert to install the drainage system and choosing the best grass seed cultivar for the green. While you can apply the fertiliser and complete the seeding without help, grass cultivars can be expensive. Natural grass cultivars can be expensive compared to using synthetic grass.
Bowling greens also require high maintenance to keep them in excellent condition. Most of the maintenance will require a professional if you want the playing area to be perfect. For instance, you need to remove the thatch to keep the play area in good condition. That requires deep tine aeration, which will improve drainage and promote root growth. However, the maintenance cost will be considerably lower if you use synthetic grass for the bowling greens.
Difference Between the UK and Australia Bowling Green
Most of the construction methods and measurements for bowling greens are similar in both UK and Australia. Similar rules of the game also apply and maintenance requirements. However, there are a few differences in the building requirements and the use of various grass cultivars. It is necessary to install a concrete channel and timber edging for the green bowl to conform to the Bowls England guidelines in the UK. However, it is optional in Australia.
Both UK and Australia mainly use a blend of Bentgrasses or fescues as a grass seed cultivar. Most professional bowling greens have the two cultivars because they provide a good playing surface. Besides, they are ideal for use during the renovations.
How to Maintain a Bowls Green
A bowling green requires regular maintenance to keep the grass short and ensure bowlers hit the jack with ease. If you want your bowl to be in tiptop shape, follow the maintenance tips below:
Regular Mowing
A lawn bowling green needs a fantastic surface for the game, and it requires a specialised turf mower with ten or more cutting blades. It would help if you find a specialist to mow the area since you must achieve a clean cutting action. Any mistakes can cause uneven growth or allow diseases to thrive, leading to an inferior bowling surface. You must also attain an optimum cutting height and ensure the blades are sharp; a mower comes with a setting bar to ensure the cutting height is accurate.
Irrigating and Fertilising
The purpose of watering greens is to keep the grass alive and not bright green. Watering the grass can make them soft and easy to damage instead of a firm and smooth surface required for bowling. Therefore, the watering should soak up the root zone to ensure the grassroots have adequate moisture. Fertilisers provide the best nutrients to keep the grass healthy and robust enough to withstand wear and tear. You can also use conditioners to improve the uptake of nutrients making the grass healthy.
Fungus Control Treatment
Regular maintenance is vital for monitoring for signs of fungal infection, signs of disease or grass deterioration. You can organise for proper treatment and maintain the greens in good conditions.
Scarifying
Any thatch or dead material in the grass inhibits lateral growth by reducing the air supply to the grass. Scarifying promotes aeration by cutting through the bowling greens surface with rotating blades. The aim is to remove dead material or thatch and stimulate lateral growth by opening the surface to fresh air.
Aeration
The root zone needs sufficient aeration to make the surface firm and suitable for bowling. Besides, it aids in promoting the absorption of nutrients and allows water to drain without drowning the plants.
Conclusion
Bowling is an exciting game to enjoy with your family and friends. That is why having a bowling green in your garden is a fantastic idea. Constructing a bowling green may be straightforward, but you must ensure it meets the required standards for fair competition. You should also stay up-to-date with the maintenance to keep the playing surface in great shape throughout the year.
Get The Complete Lawn Bowls Drill Pack
The Jack High Bowls Drill Pack is available now for instant download.
Perfect for beginners and improving players looking to be more consistent and win more games!

Get The Complete Lawn Bowls Drill Pack
The Jack High Bowls Drill Pack is available now for instant download.
Perfect for beginners and improving players looking to be more consistent and win more games!


